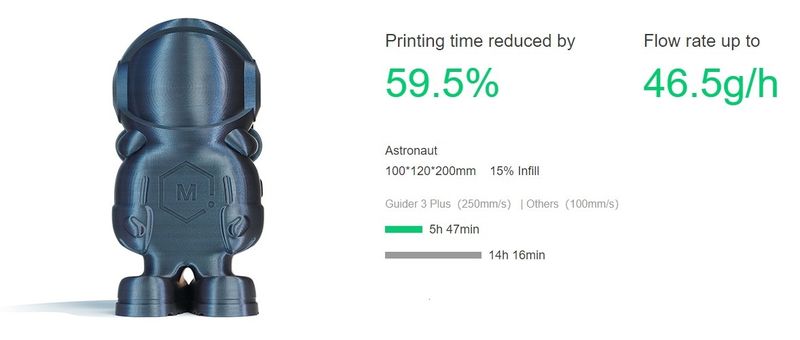
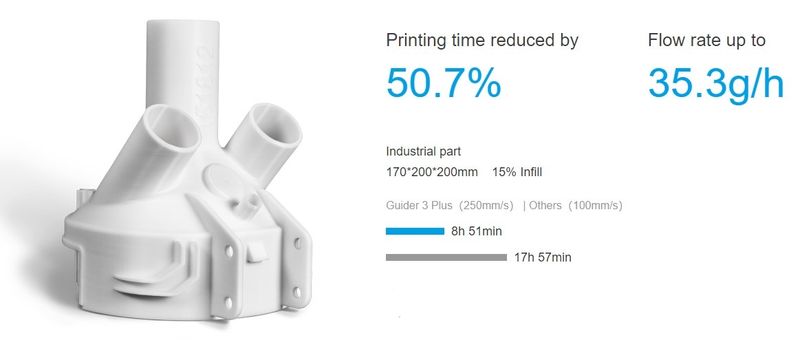
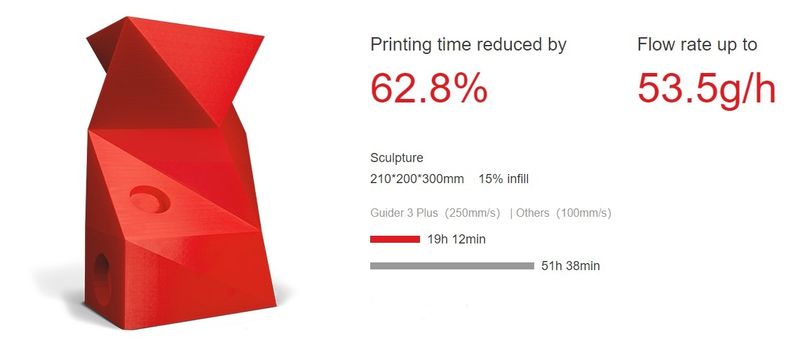
The Flashforge Guider 3 Plus is a large-scale professional FDM 3D printer with CoreXY motion structure designed for rapid prototyping and worry-free production. The sizable build volume of 600 mm height allows creating tall parts meeting the needs of most prototyping applications in automotive, architecture, art and design, and other industries. As a 3D printer featuring high-speed printing, the Guider 3 Plus boasts a newly designed internal structure for superior model performance. It can reach 250 mm/s print speed while providing high stability, better print quality and high precision operation due to the X and Y-axis linear guide rails and the dual Z-axis ball screw design.
Equipped with the automated bed leveling function, the printer ensures ideal flatness of the print surface which is extremely important for proper first layer adhesion, especially when printing big. The user can also manually adjust the Z-axis offset if needed. The heated flexible build plate and enclosed build chamber make for easy part removal.
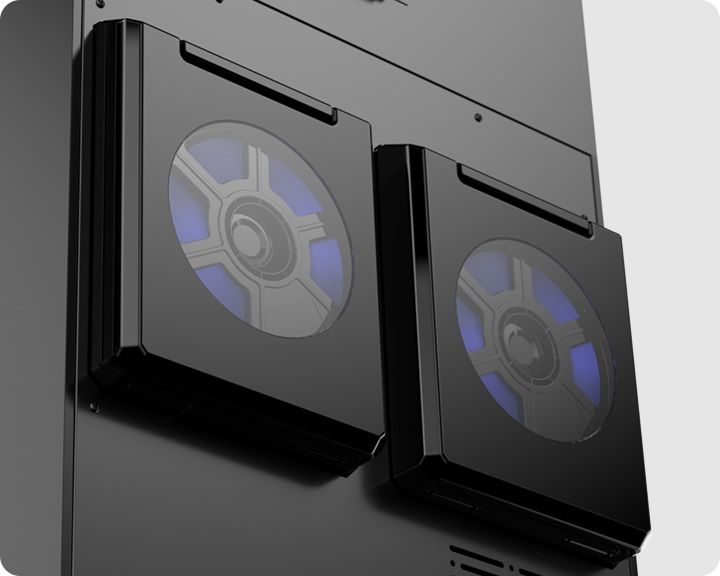
Due to its double-gear high-temp extruder with an interchangeable nozzle, the Guider 3 Plus can handle a wide range of consumer and engineering thermoplastics. To provide the proper storage conditions for the filaments, the back of the machine is equipped with dual sealed filament chambers with desiccant providing a sealed and dry environment both during the printing process and in the idle state. Each chamber houses a 1 kg spool of filament and maintains the humidity level below 20% within 5 days with only 3 packs of desiccant placed inside.
The Guider 3 Plus boasts a number of other features to effectively ensure high model quality output, ease of use, and printing efficiency, such as filament detection sensor, auto shut-down, sleep mode, and efficient air filtration with a built-in HEPA 13 filter for safe and odor-free printing.
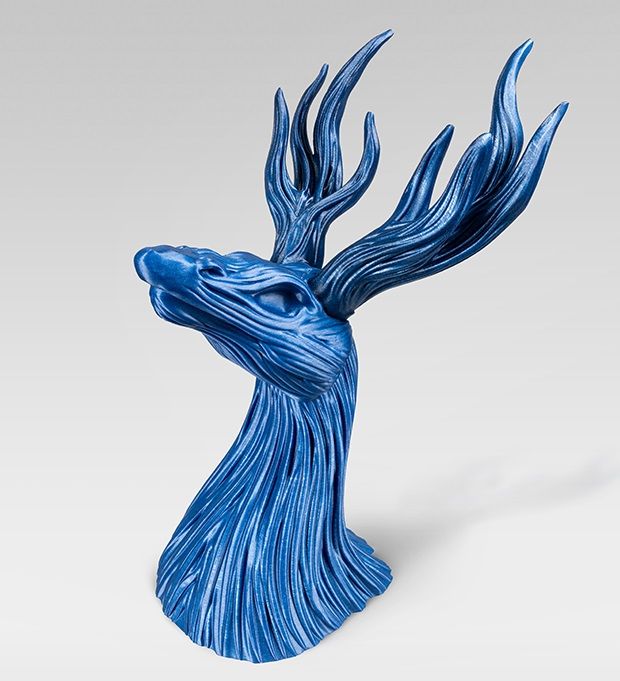
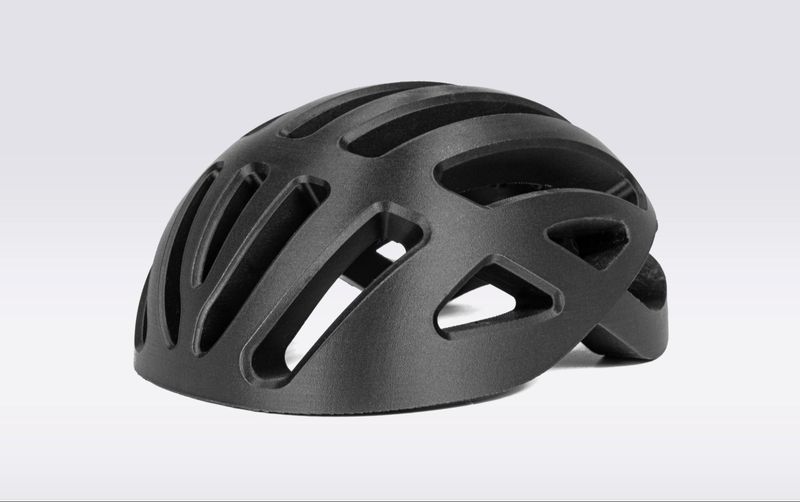
With the build volume of 350 x 350 x 600 mm, the Guider 3 Plus is capable of creating fairly large models. The minimum layer height of 50 microns and the rigid mechanical structure, excluding vibrations, allow for accurate positioning of high-quality parts with smooth model surface. As the maximum nozzle temperature of the printer can reach 320 °C, the user can benefit from a wide choice of filaments suitable for various printing tasks. The extruder is equipped with a 0.4 mm stainless steel nozzle that can be easily replaced with an optional 0.6 or 0.8 mm nozzle.

Credit: @3d_aura / Instagram
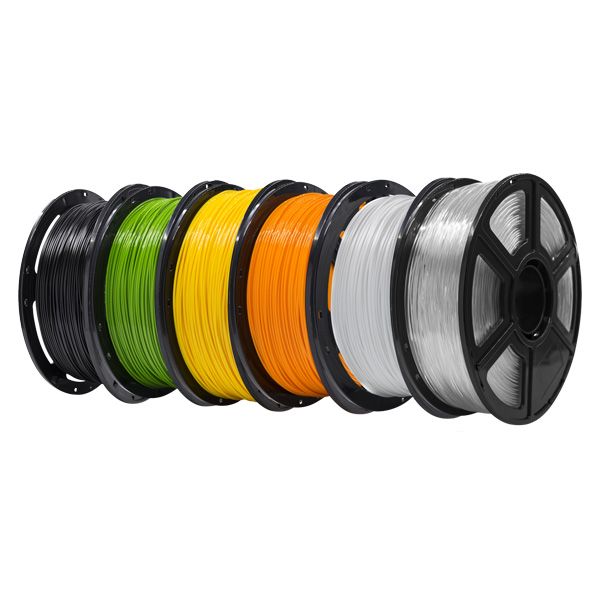
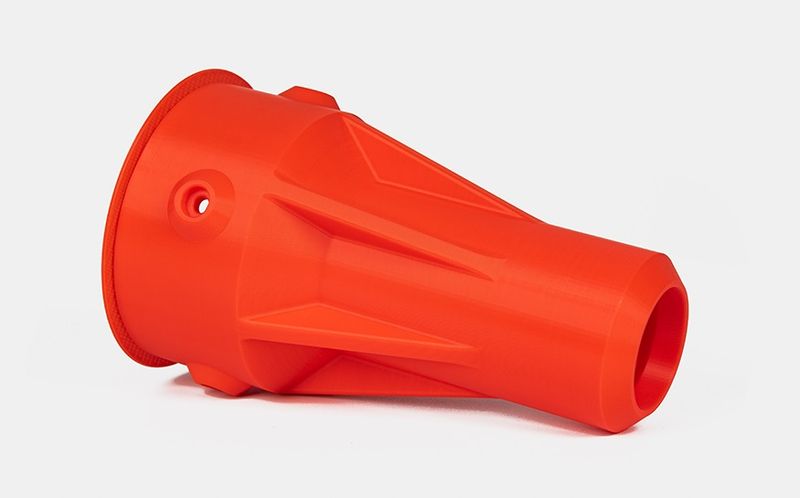
The Guider 3 Plus is a professional-grade 3D printer featuring open material system compatible with a wide range of materials including PLA, ABS, HIPS, PC, TPE, PETG, ASA, PP, Nylon, glass or carbon fiber reinforced filaments, and others. For reinforced materials, the manufacturer recommends using a hardened nozzle. You can print with both proprietary and third-party thermoplastics regardless of the manufacturer.
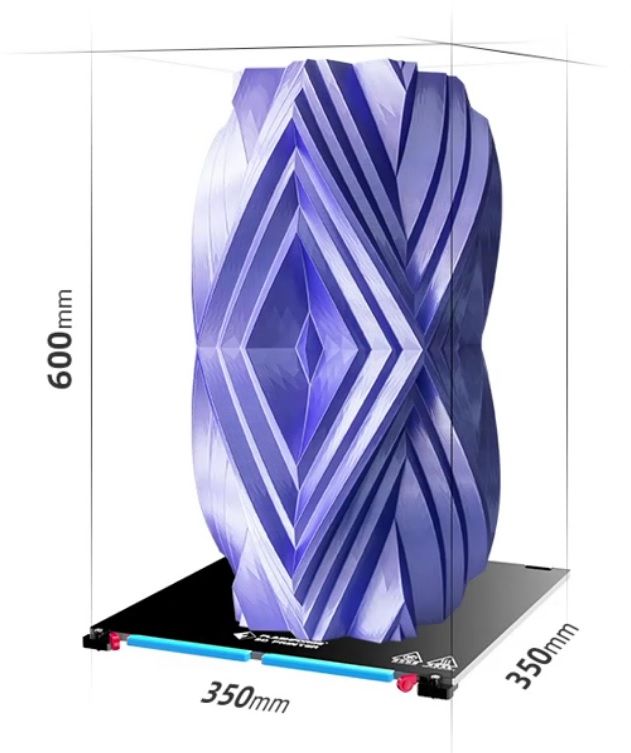
The build volume of the Flashforge Guider 3 Plus is 350 x 350 x 600 mm, which opens wide opportunities for rapid prototyping and end-use parts manufacturing in various industries. The build platform can support a maximum load bearing capacity of 30 kg.
The Flashforge Guider 3 Plus is equipped with a 7" LCD touchscreen that makes for intuitive and convenient operation of the machine. Rich connectivity options, including USB, Wi-Fi, Ethernet, and cloud printing support add to the convenience of use.
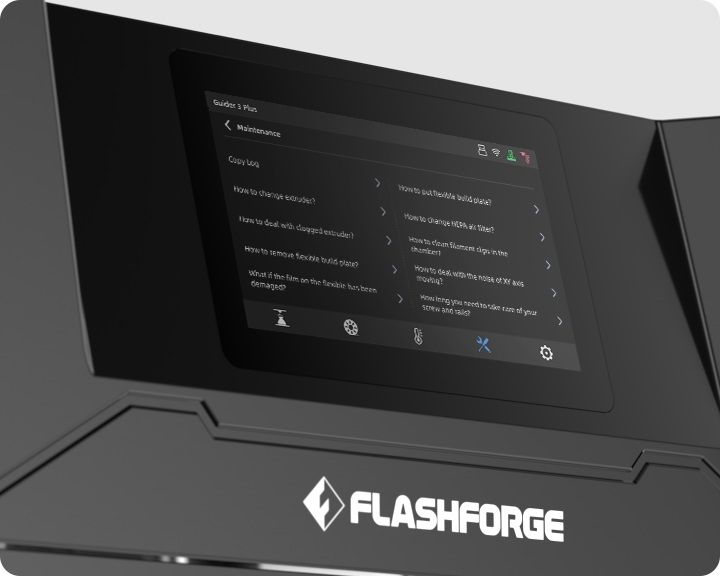
The Guider 3 incorporates an efficient integrated equipment management system with online printing via FlashCloud and intelligent multi-platform management. It allows the user to control multiple devices simultaneously, and automatically resume printing after a power outage. The built-in camera provides real-time monitoring of the printing process. Also, the equipped maintenance assistant provides solutions to common printing problems, saves communication time and realizes efficient maintenance.
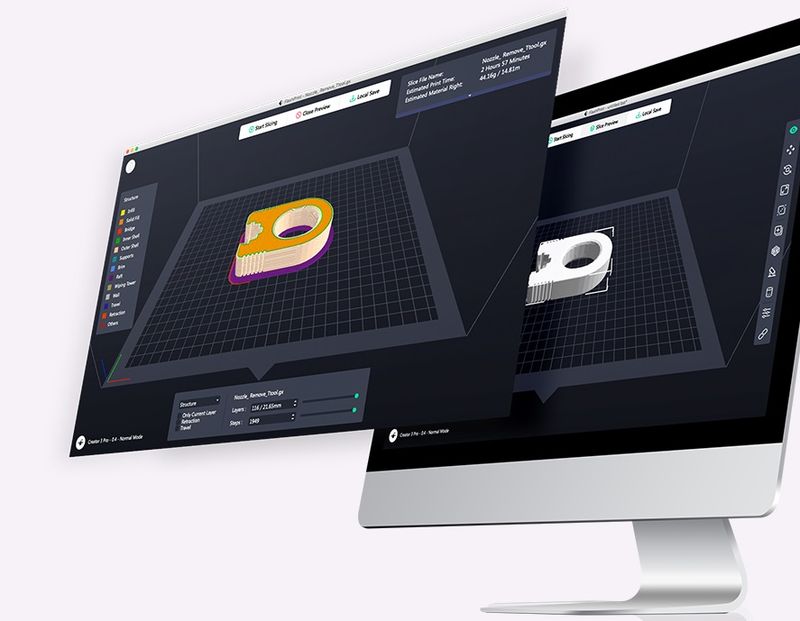
The machine comes with the proprietary Flashprint 5 slicer software featuring a powerful set of functions and user-friendly renewed interface. Other compatible slicers are Slic3r, Skeinforge, and Cura.
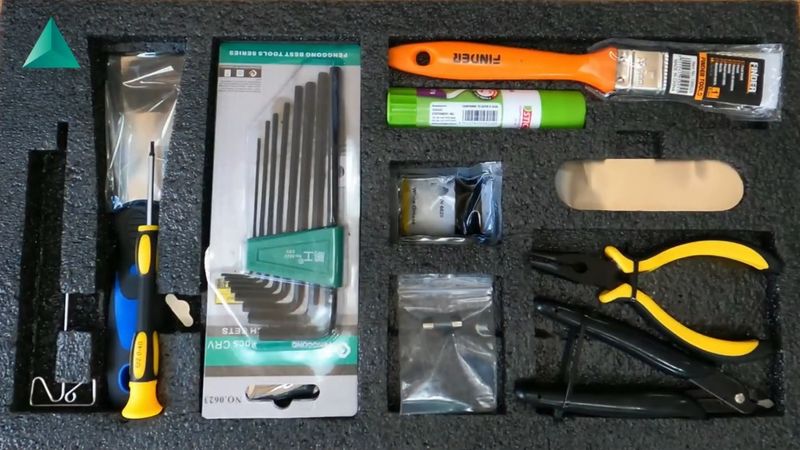
Credit: 3DNY PRINTING / YouTube
For some items, package content may change. In case of any questions, please get in touch.
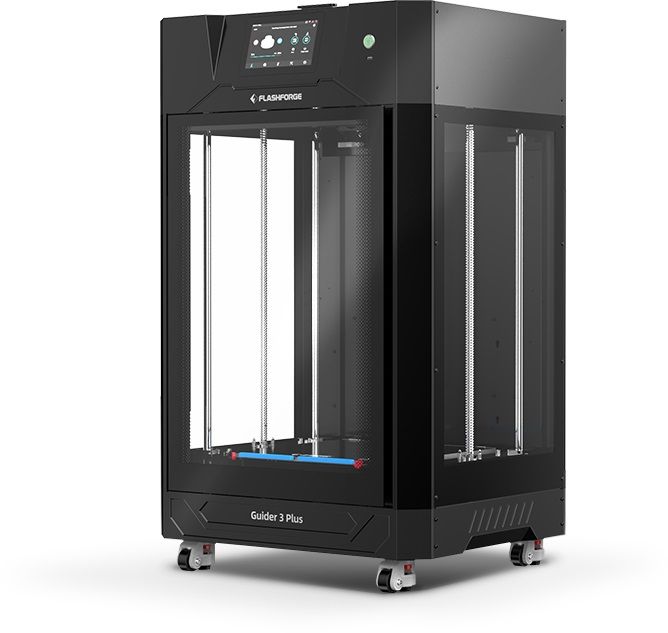
The Flashforge Guider 3 Plus FDM 3D printer is available in black. Its solid yet exquisite look makes it ideal for any lab, workshop, small business, or educational institute.
The machine dimensions are 25 x 21.7 x 42.1 in (635 x 550 x 1070 mm). It weighs approximately 154.3 lb (70 kg).
The price of the Flashforge Guider 3 Plus 3D printer is $3,400.00, which is reasonable considering its build volume, high printing quality, remote multi-platform management as well as low noise printing, quiet and smooth operation.
Update your browser to view this website correctly. Update my browser now

